How This Tool Works?
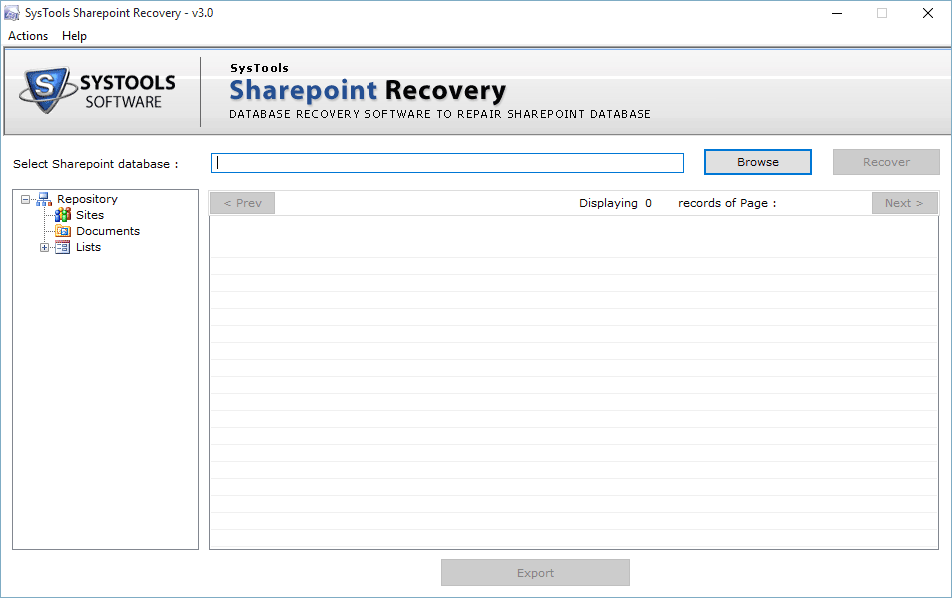
- Open The software: You will see the following initial screen of the software:

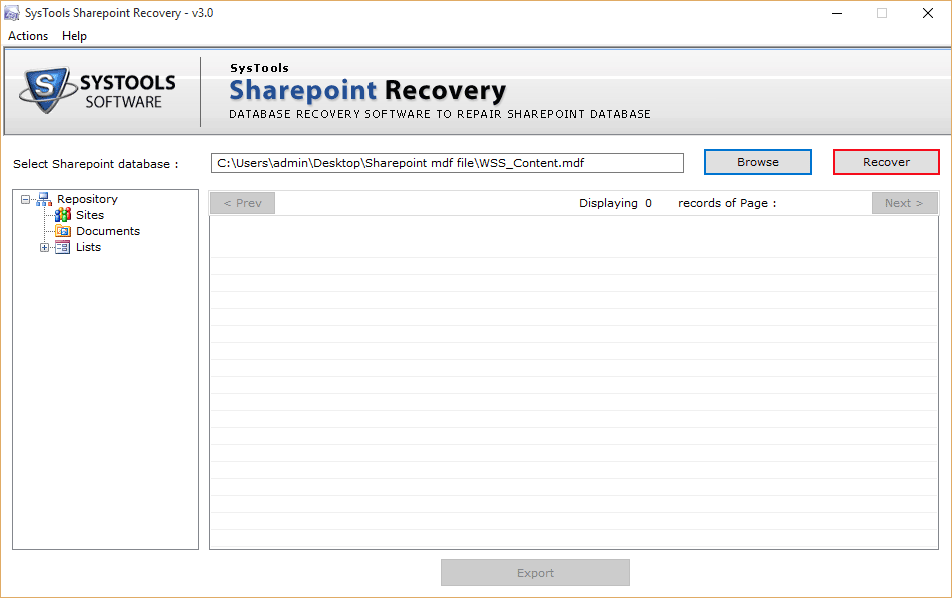
- Browse the corrupted/damaged MDF file and click on the Open button.

- After this, you will be able to see the location path of the selected MDF file.

- Now you will be able to view the status in the prompted window as follows

- Now, you can preview all the components of the repaired MDF file like sites, documents, lists, search etc. as shown below:

- After previewing the contents of the repaired MDF file, you have to click on the Export button (at the bottom of the window) in order to save the repaired MDF file. On clicking "Export" button, software will display the following screen:

- The above Window, you can see two Saving Options (SQL Server Database and SharePoint Database ). Choose any one option out of the two.
SQL Server Database: If you choose this option, software will save or import the repaired MDF file in an existing SQL Server database. If you select this option, you will be asked to provide all the database credentials such as: Server Name, Database Name, Username, Password etc.
Then select the tables, views procedure to be saved from the left-bottom panel and finally click on "Save" button.
SharePoint Database: If you choose this option, software will save all the database in SharePoint Documents.

- After choosing the "Export To/As" option, click the "Save" button for saving the recovered data. After clicking, you will be asked for saving the deleted records. Click " Yes " if you want to export deleted records as well. Otherwise, click "No" as shown below:

- After choosing the saving location, click the "OK" button. As you click the "OK" button, software will start the recovery process and you will be able to see the status as shown below:

- After the completion of the recovery process, software will prompt you about the completion as follows:


